Electronic Lock Installation: A Comprehensive Guide
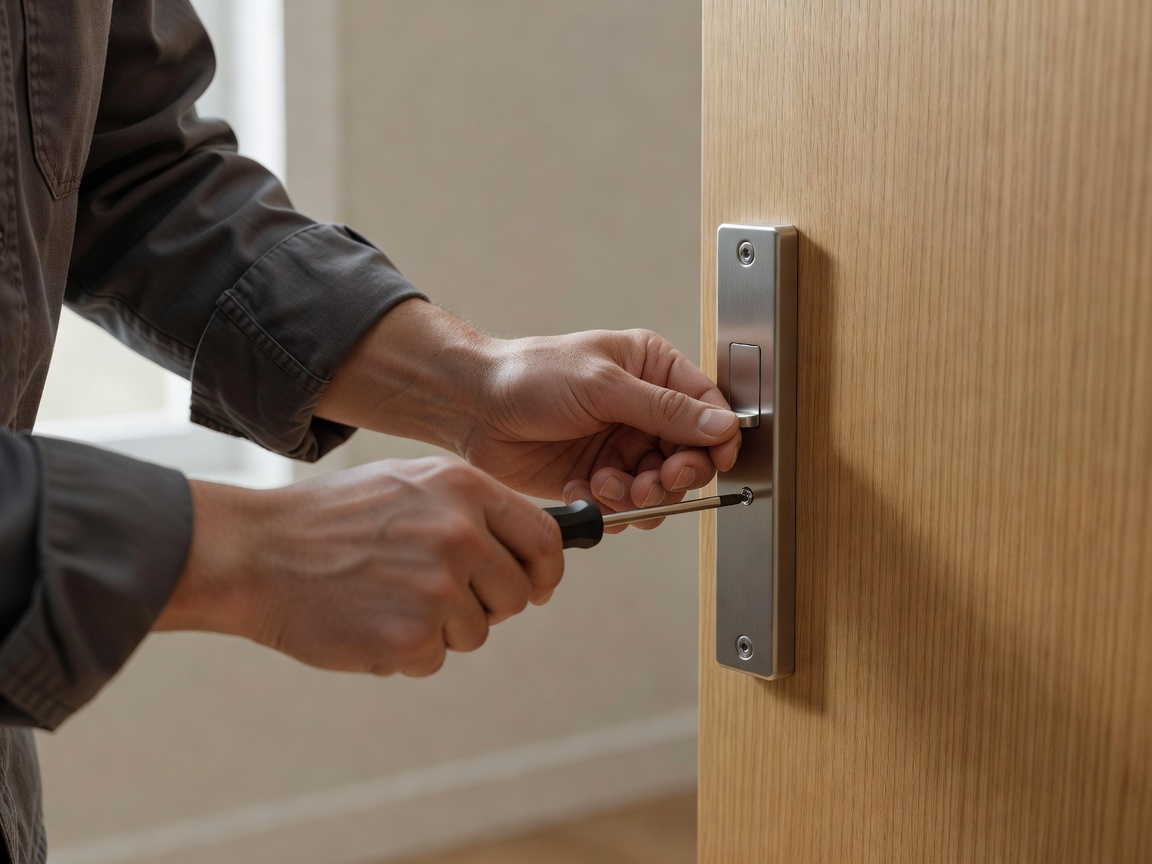
Upgrading to an electronic or smart deadbolt is one of the most rewarding DIY projects for a homeowner. Most standard electronic locks are designed to retrofit into the existing holes of a standard mechanical deadbolt, meaning you can often complete the project in under 30 minutes with just a Phillips head screwdriver. However, to ensure smooth motorized operation and long battery life, precise alignment is critical. This guide walks you through the essential steps.
Step 1: The Pre-Installation Checklist and Measurements
Before purchasing a lock, verify that your door meets standard dimensional requirements. Electronic locks have bulky interior escutcheons that house the batteries and motor, which need adequate clearance.
- Backset: Measure from the edge of the door to the center of the deadbolt hole. It should be either 2-3/8 inches or 2-3/4 inches. Most electronic latches are adjustable to fit either.
- Door Thickness: Standard residential doors are between 1-3/8 inches and 1-3/4 inches thick. If you have a custom thick door, you may need an extension kit from the manufacturer.
- Bore Hole Diameter: The primary face hole should be 2-1/8 inches in diameter. The cross bore (edge hole) should be 1 inch.
Step 2: Checking Door Alignment (Crucial)
A smart lock motor is strong, but it cannot overcome significant physical resistance without draining its batteries rapidly or stalling out entirely. Before removing your old lock, close the door and engage the deadbolt.
If you have to push, pull, or lift the door by the handle to get the deadbolt to slide fully into the frame's strike plate, you must fix this alignment issue first. The bolt must slide in and out smoothly with zero friction. You may need to deepen the strike plate pocket with a chisel, reposition the strike plate, or adjust the hinges to ensure the door sits perfectly flush within the frame.
Step 3: Removing the Old Hardware
Use a screwdriver to remove the two interior screws of your existing deadbolt. Pull the interior and exterior halves apart. Then, remove the two screws holding the latch mechanism on the edge of the door and slide the latch out. Clean the bore holes of any sawdust, debris, or old paint.
Step 4: Installing the New Latch and Strike Plate
Insert the new adjustable latch into the edge of the door. Ensure the cross-shaped hub is centered in the main bore hole. Check the manufacturer's instructions for the correct orientation (usually "UP" is marked on the latch face). Secure it with the provided wood screws.
Next, install the heavy-duty strike plate on the door frame. Many electronic lock kits include long, 3-inch security screws for the strike plate. It is highly recommended to use these, as they anchor deep into the wall studs, significantly reinforcing the door against kick-in attempts.
Step 5: Mounting the Exterior and Interior Assemblies
Route the exterior keypad's connection cable under the latch mechanism in the bore hole, and hold the exterior assembly flush against the door. From the inside, attach the mounting plate, threading the cable through the designated slot. Tighten the mounting bolts firmly, but do not overtighten to the point of warping the plate.
Connect the data cable from the exterior half to the terminal on the interior motor assembly. Tuck any excess cable neatly into the housing space to avoid pinching it. Finally, secure the interior housing to the mounting plate.
Step 6: Calibration and Handing
Once physically installed, the lock must "learn" which way the door swings (left-handed or right-handed) to know which direction extends the bolt and which retracts it. This process is called "handing the lock."
Insert the batteries while the door is open. Depending on the model, you may need to hold down a specific button during power-up or initiate the process via the companion app. The motor will extend and retract the bolt several times to map the endpoints. Once calibrated, test the electronic operation multiple times with the door open, and then again with the door closed.
When to Hire a Professional
While most installations are straightforward, you should contact a professional locksmith if your door requires new bore holes, if it is an integrated mortise lock system (where the handle and deadbolt are housed in a single large cassette), or if the door frame is heavily warped and requires structural repair to achieve alignment.